Crafts

Colorful Disney and Toy Story Inspired Nursery

Once we found out we were having a boy, one of the first items on our list was to decide what theme to choose for his nursery. We are already indecisive enough and we had a few ideas that we really liked. At one point, we even contemplated splitting the room in half theme-wise and having his sleeping area be one theme and his play area be another theme. Shockingly enough, this idea wouldn’t be too crazy since his room is gigantic!

It’s been difficult letting that room sit mostly empty since we moved into this house in 2009. We always knew it would be the nursery one day and would even say so when giving tours to friends and family. Now that it was time to start putting it to its intended use, we were ecstatic and wanted it to be perfect!

We ultimately decided on a more general theme that wasn’t strictly for newborns, but more of a child’s room; one that he could grow up in, people could contribute to without worrying about whether items would clash and promoted learning AND fun…

A theme full of bright, primary colors with plenty of Disney and Toy Story items!

The walls were a light creme color with a tan carpet, which is what our entire house was when we first moved in. I wasn’t kidding when I said this room went untouched for a few years!

Since we are pretty hit-or-miss when it comes to paint colors, we searched online to find a color we liked. We didn’t have any particular color in mind, but we knew we wanted the color to be somewhat neutral so it wouldn’t be overwhelming among all the bright colors and white furniture that was going to be in there. We came across a light gray from Benjamin Moore called Gray Horse that we liked.

Since I was pregnant, we got the Low VOC paint so that I could paint too! We opened the windows, taped the edges around the room, turned our music up and started our painting adventure!

Only one coat was needed and we had a blank canvas ready for for the fun additions!

Now, we were ready to go shopping! We took a trip to the closest IKEA, which is in Orlando about 3.5 hours away! We looked into ordering our items online, but the shipping was more than if we just drove and rented a trailer…and since it usually doesn’t take much to convince us to take a trip to that area, we turned it into a mini-vacation weekend!

We had never been to an IKEA before…we were in love and immediately wanted to petition for one in our city. We spent about 10-11 hours in IKEA over the span of 2 days. Boy, my feet hurt worse than as if I spent the weekend in Disney, but we had a packed trailer and SUV!

Over the span of the next few months, we assembled the larger items, dabbled with some DIY craft projects, purchased various items from Disney, Target and Amazon and got items from our baby shower to fill up the nursery. Below the photos, you’ll find links to most of the items.

We love the finished product!

{Trent’s Nursery Door Sign - View the DIY tutorial HERE}

{Wall 1 - Bookshelves and changing table/dresser.}

Bookshelves - IKEA Ribba

Disney Photo - Disney

Photo Frame - Hobby Lobby

Outlet covers - DIY Spray painted over original white outlet covers

Jumbo Hanging Barrel o’ Monkeys - View the DIY tutorial HERE

Shelves - IKEA Ribba

Dresser - IKEA Hemnes

Changing Pad - Amazon

Monkey Changing Pad Cover - Amazon

Mobile - IKEA Leka Cirkus

Letter T Frame - View the DIY tutorial HERE

Diaper Genie - Amazon

Steamboat Willie Photo - MoviePosters.com (free! won a gift card)

Large frame - Hobby Lobby

{Wall 2 - Crib and relaxing chair for Mommy}

Crib - DaVinci Ashbury from SimplyBabyFurniture.com

Mobile - Amazon Kushies Zolo Mobilo

Crib Sheet set - IKEA Vitaminer Rand

Scrabble Letters - View the DIY tutorial HERE

Growth Chart Ruler - View the DIY tutorial HERE

Chair - IKEA Ektorp Jennylund

Ottoman/footstool - IKEA Sandby

Small green shelf unit - DIY refurb from Michael’s clearance section

Rug - IKEA Barnslig Ringdans

Green bug light - IKEA Smila Bagge

Wall Crayons - Toys r Us

{Wall 3 - Windows, toy shelf and alphabet}

Tie-up blackout curtains - Overstock.com

V-Shelves - IKEA Mammut

5×1 shelf - IKEA Expedit

Various wooden toys - IKEA

1-2-3 bins - IKEA Kusiner

Stuffed Disney Animals - Disney

Chalkboard/Whiteboard easel - IKEA Mala

Children’s table and chairs - IKEA Mammut

Rug - IKEA Lekplats

1-2-3 circular bins - IKEA Kusiner

Wall Alphabet - DIY project - Letters purchased at different stores and painted

{Wall 4 - Large bookcase and toys}

5×5 shelf - IKEA Expedit

Various shelf inserts on bottom row - IKEA Expedit

Colored bins - Martha Stewart at Home Depot

{Closet - View the Closet makeover HERE}

5×1 shelf - IKEA Expedit

Shoe insert - IKEA Expedit

Colorful pop-up bins - IKEA Kusiner

Colored bins - Martha Stewart at Home Depot

{Before and After!}

View some of our DIY Projects from Trent’s Nursery!

DIY Jumbo Hanging Barrel of Monkeys

DIY Pirate Door Sign

DIY Growth Chart Ruler

Nursery Closet Makeover

DIY Scrabble Letter Blocks

DIY Colorful Framed Letter


The Photographer’s Wife fans, be sure to:

Subscribe by email | Like us on Facebook | Follow us on Pinterest | Subscribe on YouTube


Baby Shower Ultrasound Thank You Cards

We had a wonderful baby shower, with plenty of creative touches, so we just had to keep the creativity going somehow with our thank you cards to everyone. We just like being a little different!

After all, the gifts were for Trent, so we felt Trent should be able to say “Thank you” too!

We used one of our photos from our 3D/4D Ultrasound session where he had his mouth completely open. Brett used Photoshop to add the extras. He put his full name up top in colorful letters using a crayon-like font…as if Trent was writing it (well, maybe if he was a few years old, but still, you get the point)!

He then added a word bubble (we kinda have a thing for word bubbles, don’t we?) and put “Thank you _____” and inserted each person’s name for each photo. That’s right, each photo was personalized for each person. Trent is so thoughtful already!

Brett then placed the order through his site, fulfilled by mpix, and we received personalized, glossy prints in just a couple of days, which was how long it took me to think of what to write in each thank you card!

We then went to Target and found thank you cards that were for baby showers and large enough to fit the photo (4×5). Looking back, we probably should have done this the other way around, as most thank you cards are 3.5×5, but luckily we found these and we really liked them.

I inserted the traditional thank you messages from all of us into each card, which may or may not have been corny. Thank you cards for gift receiving events have always seemed a little awkward to me, both receiving and giving, but I must obey the etiquette gods nonetheless.

Our family and friends now have their first photo of Trent!

The Photographer’s Wife fans, be sure to:

Subscribe to our posts

Like us on Facebook

Follow us on Twitter


Lego Birthday Party

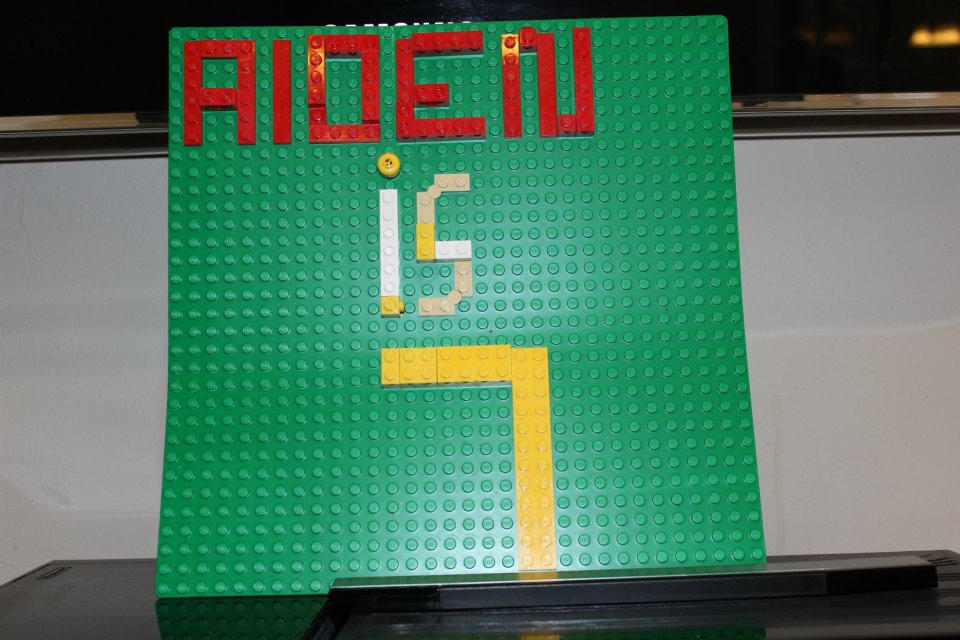
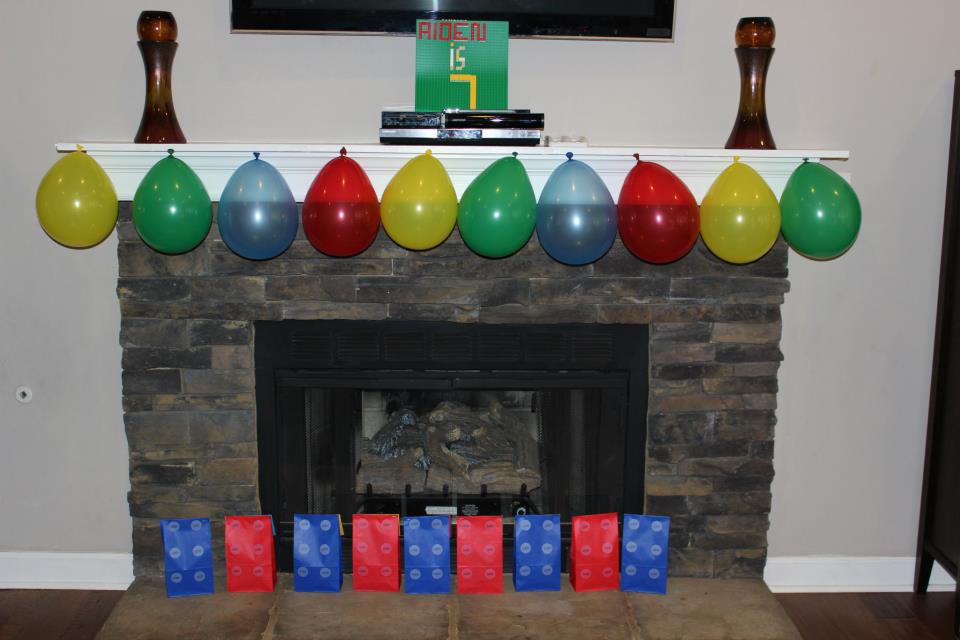
For our nephew Aiden’s 7th birthday, he had a Lego Party!

He recently went to Legoland and has been hooked ever since! Although dinosaurs will always be his favorite, it’s nice to see him take an interest in something else. LOL! Mostly because I think our family has bought every dinosaur item out there…but now we can buy Lego Dinosaurs!

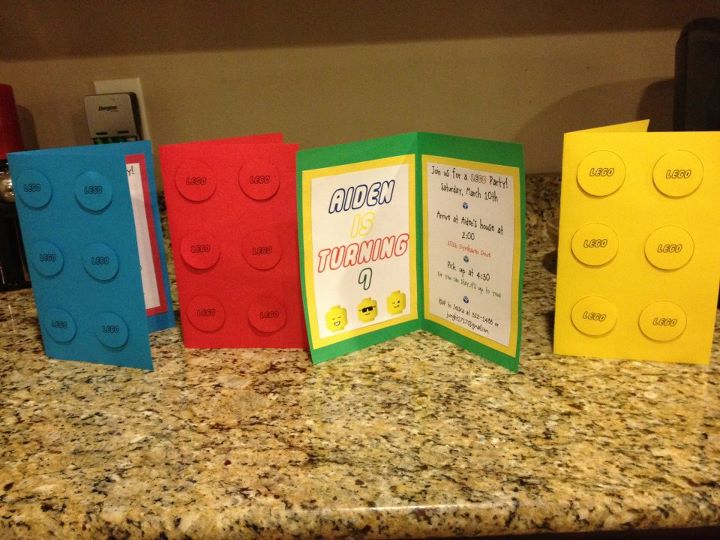
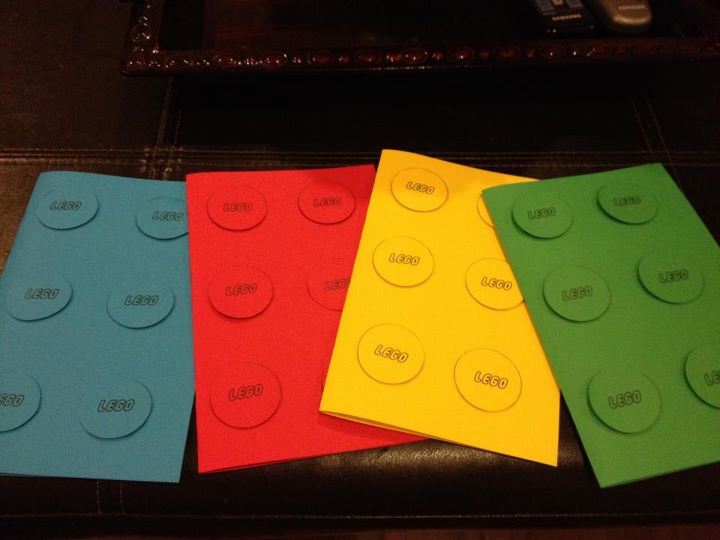
Jessi made Lego invitations for Aiden to bring to class…how cute are these?!

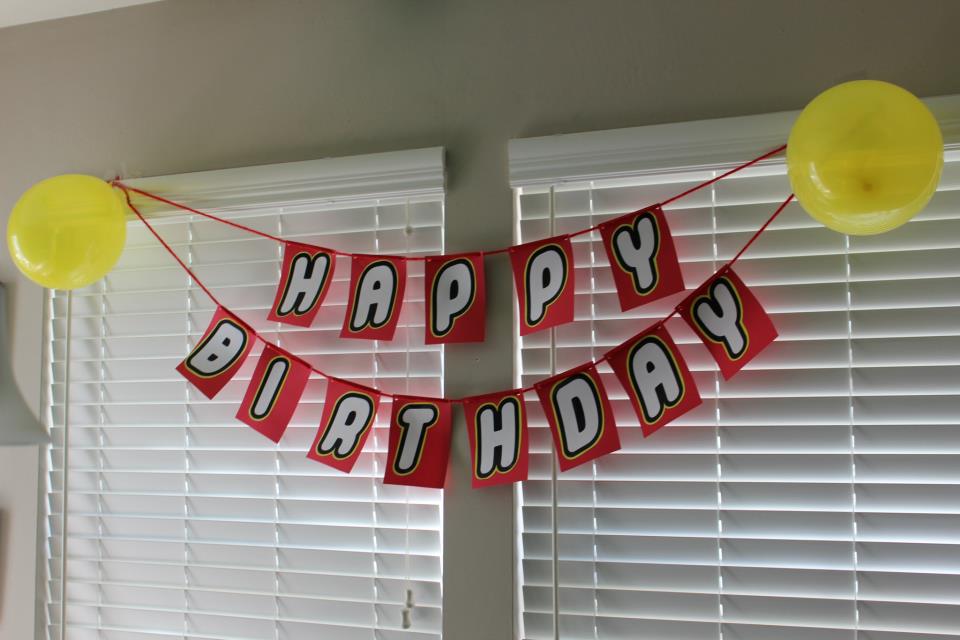
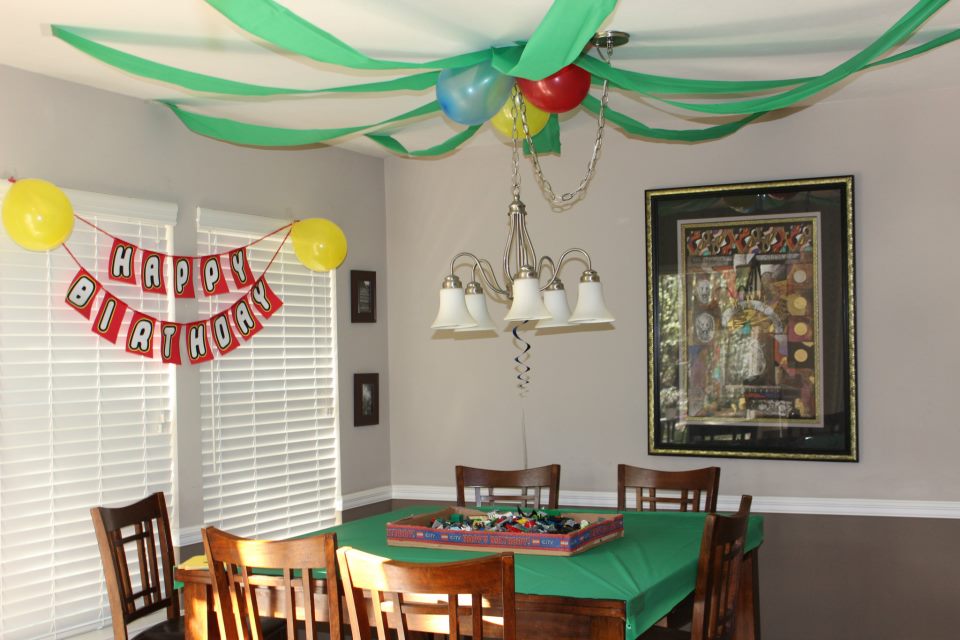
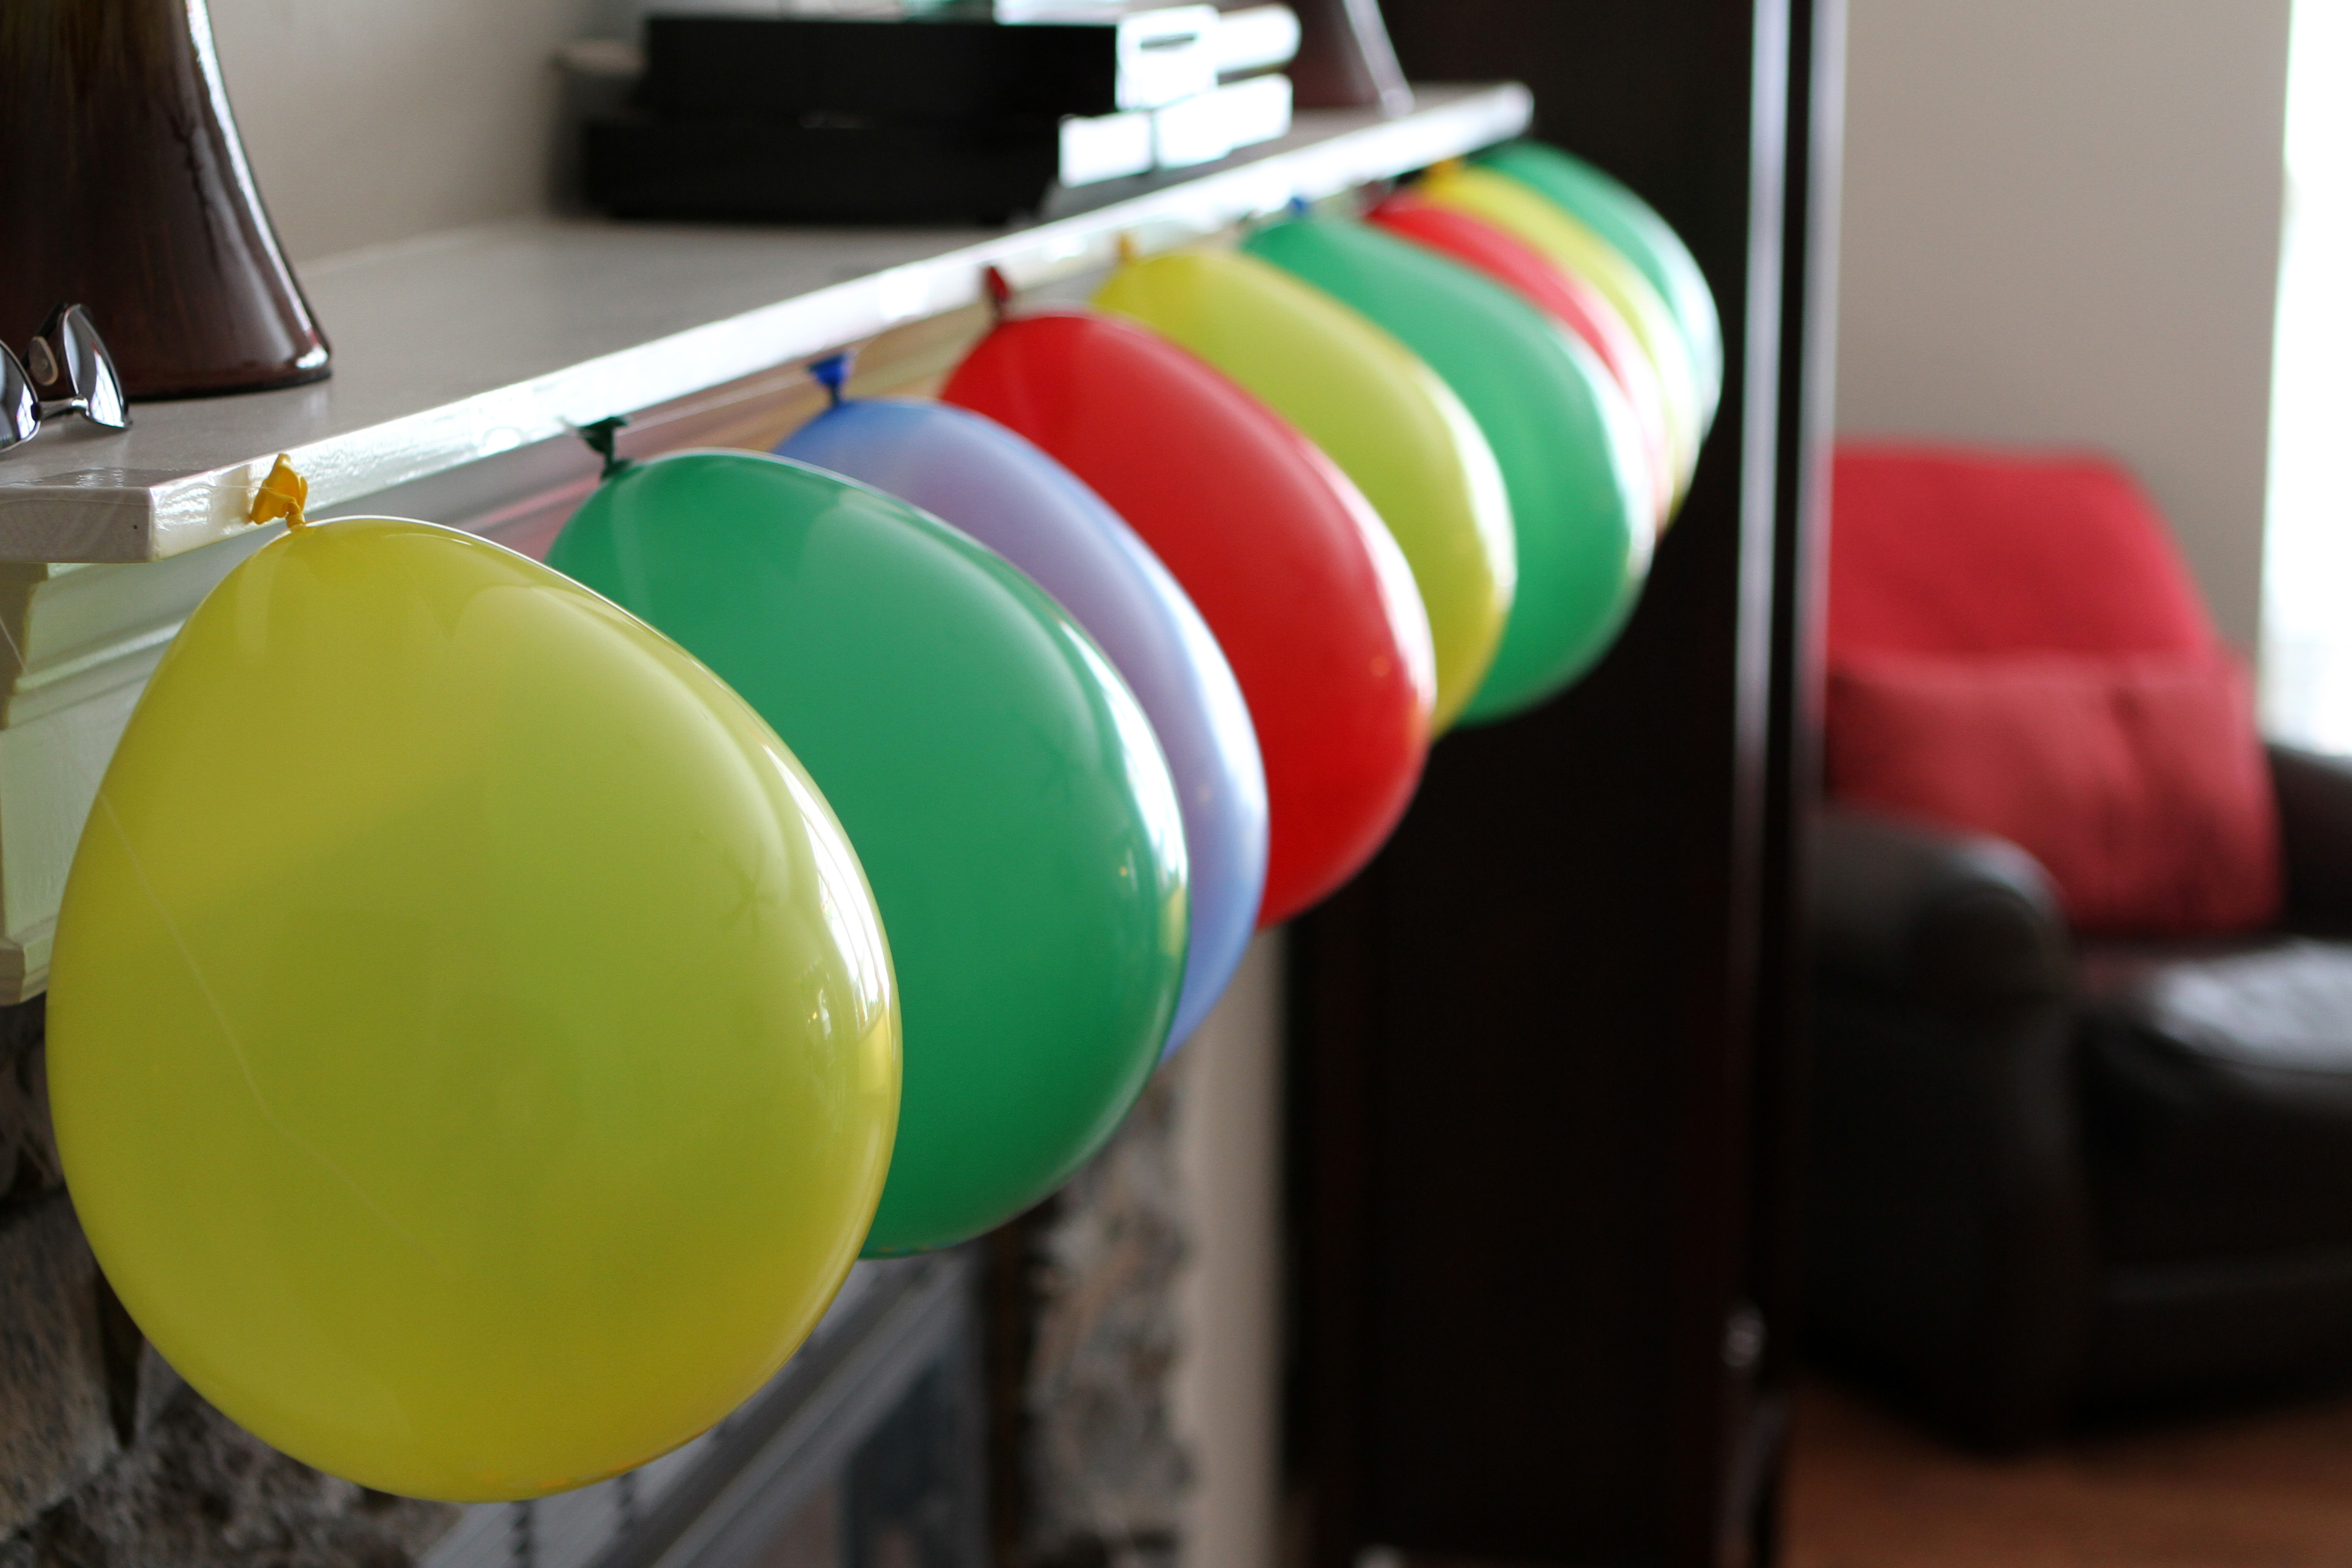
You could tell from the moment you stepped inside that it was a Lego birthday party, that’s for sure!

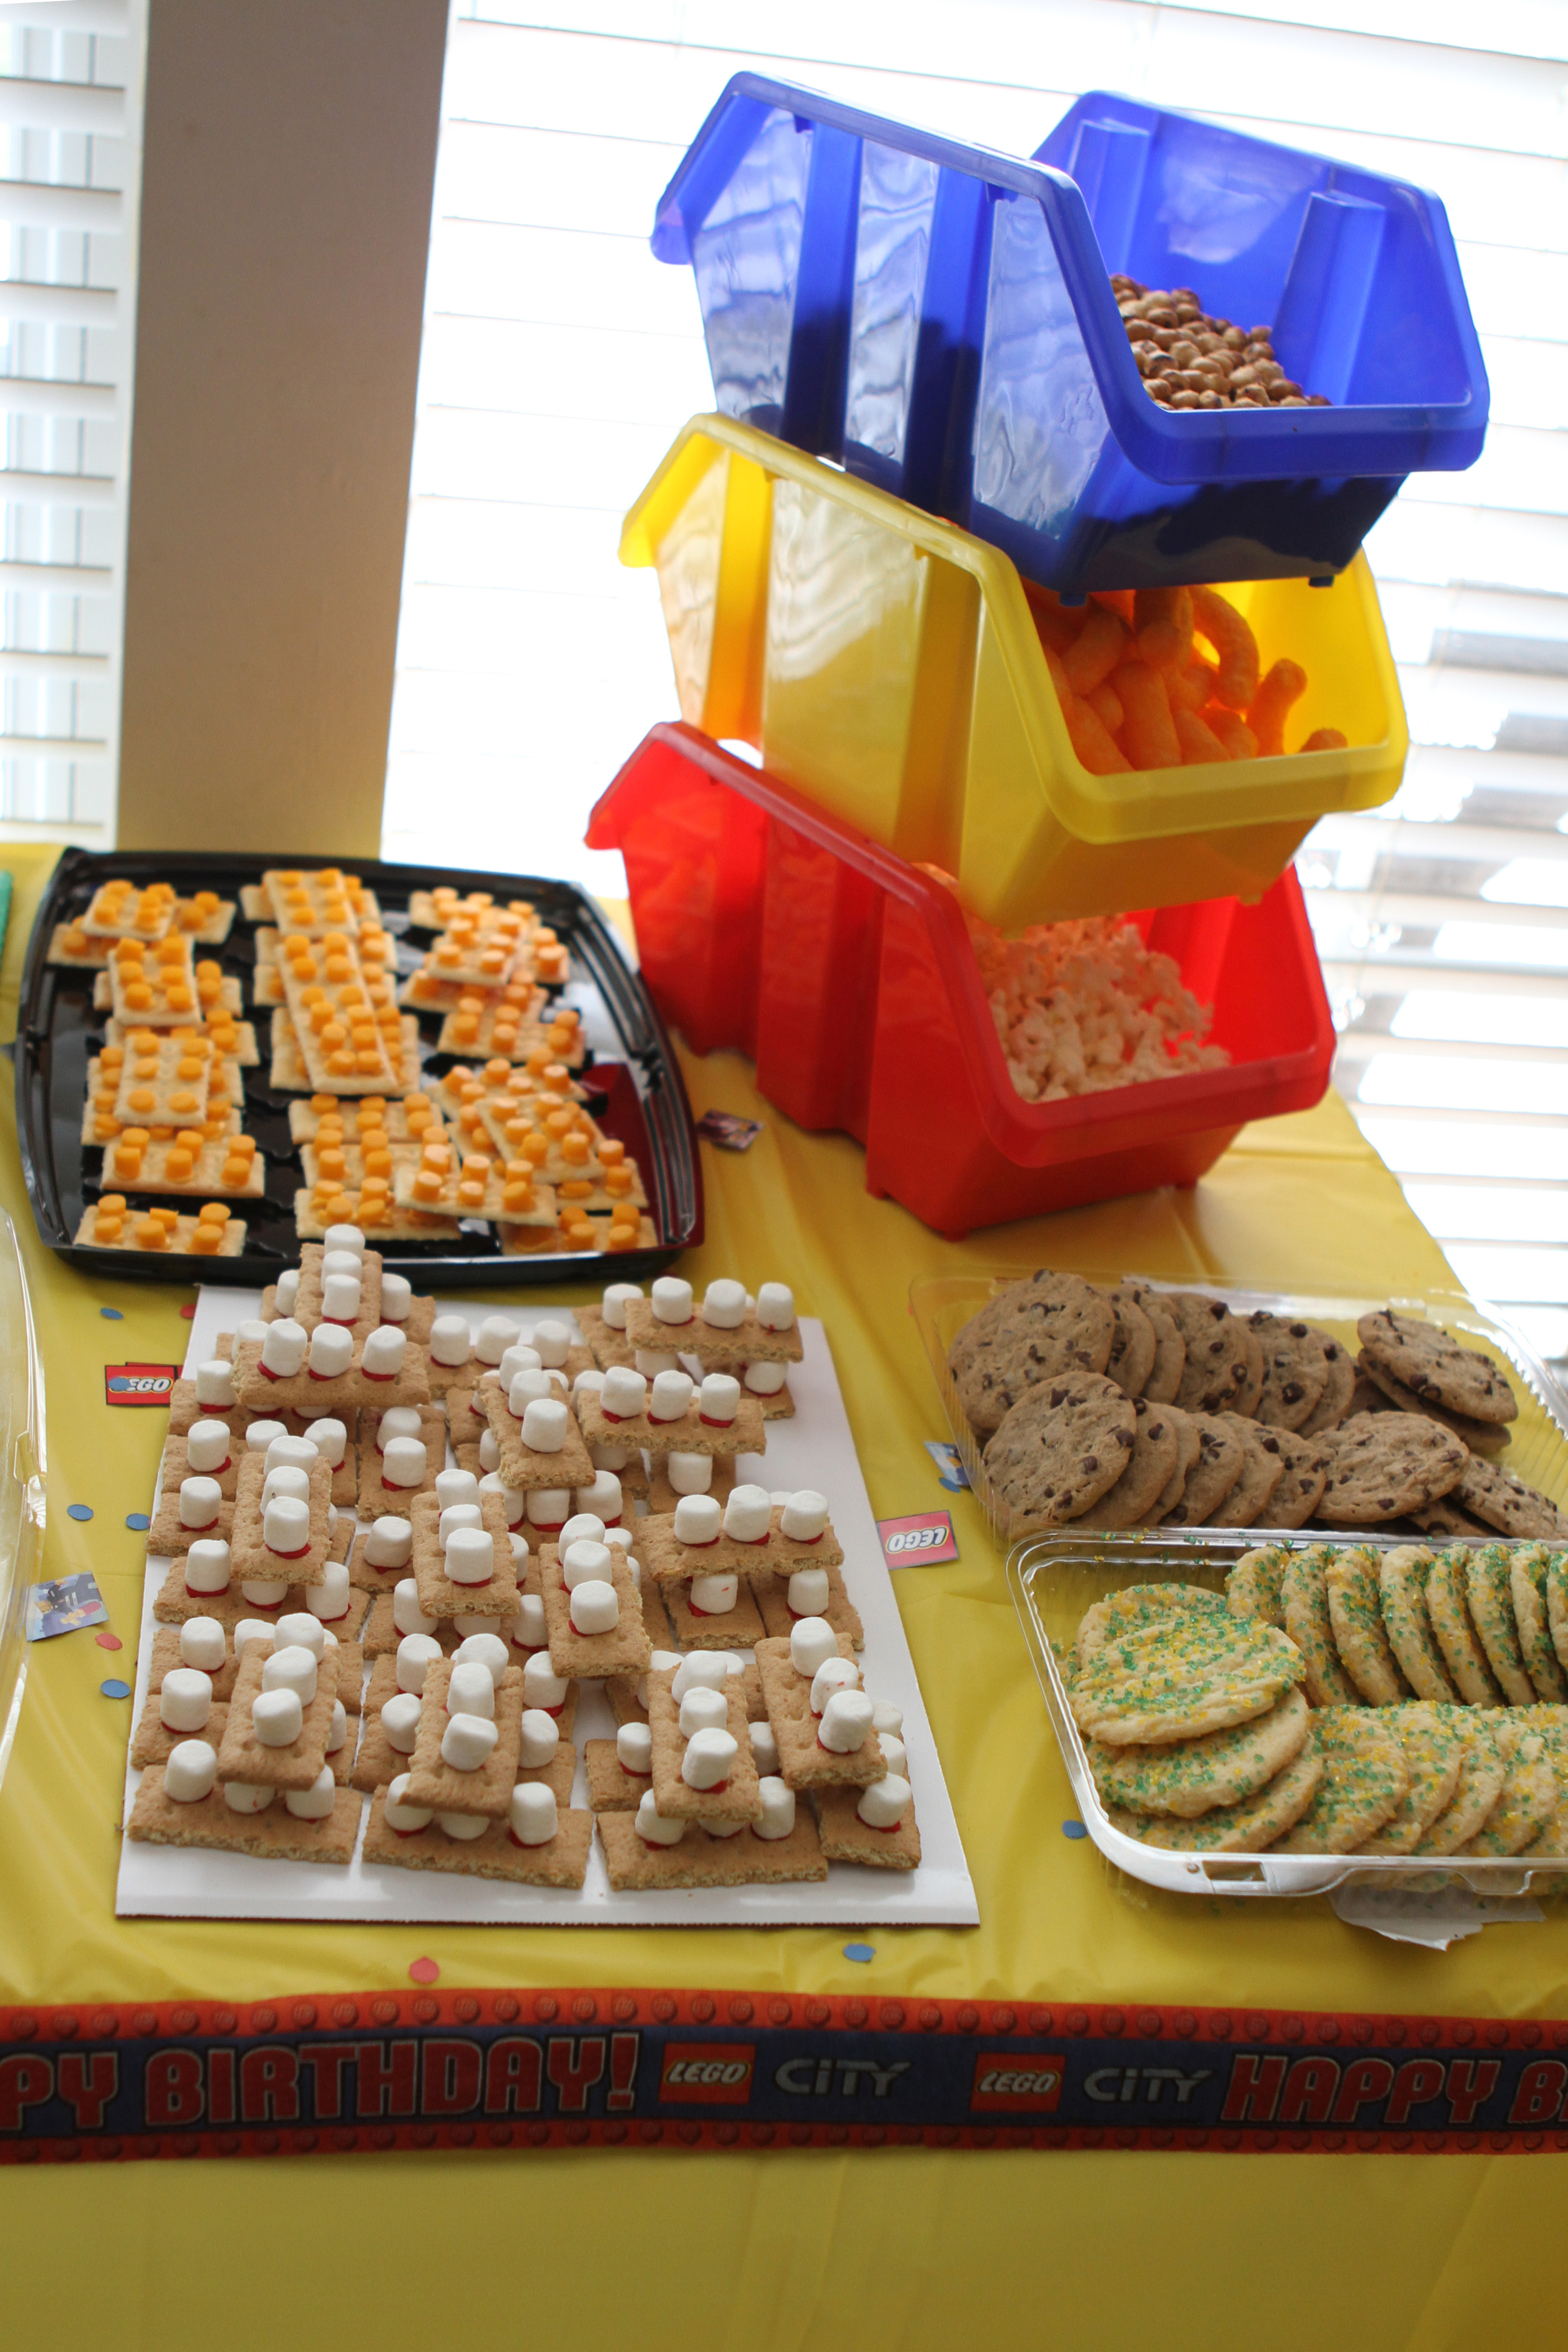
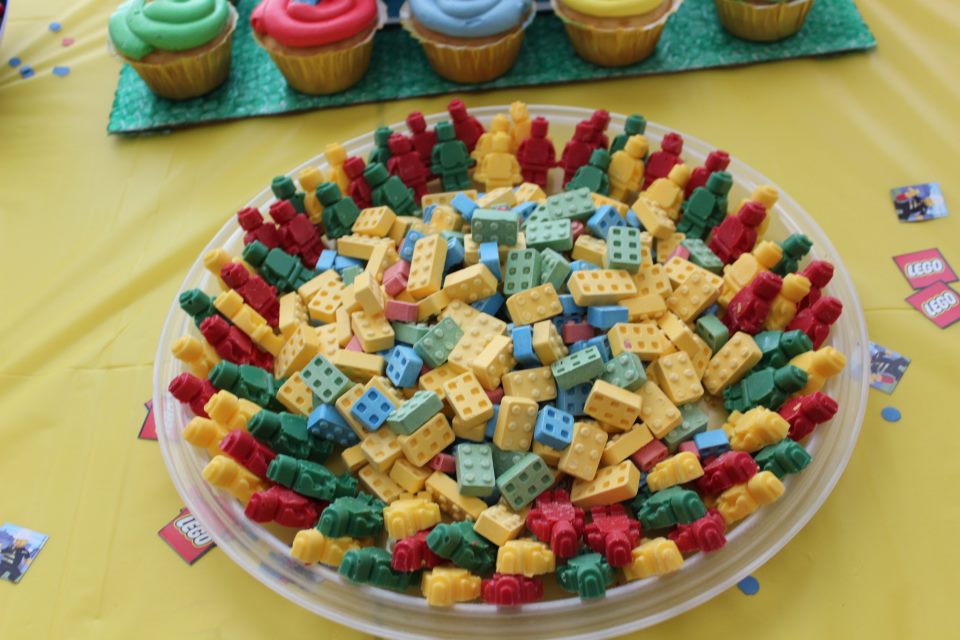
Lots of fun Lego themed party food…yum!

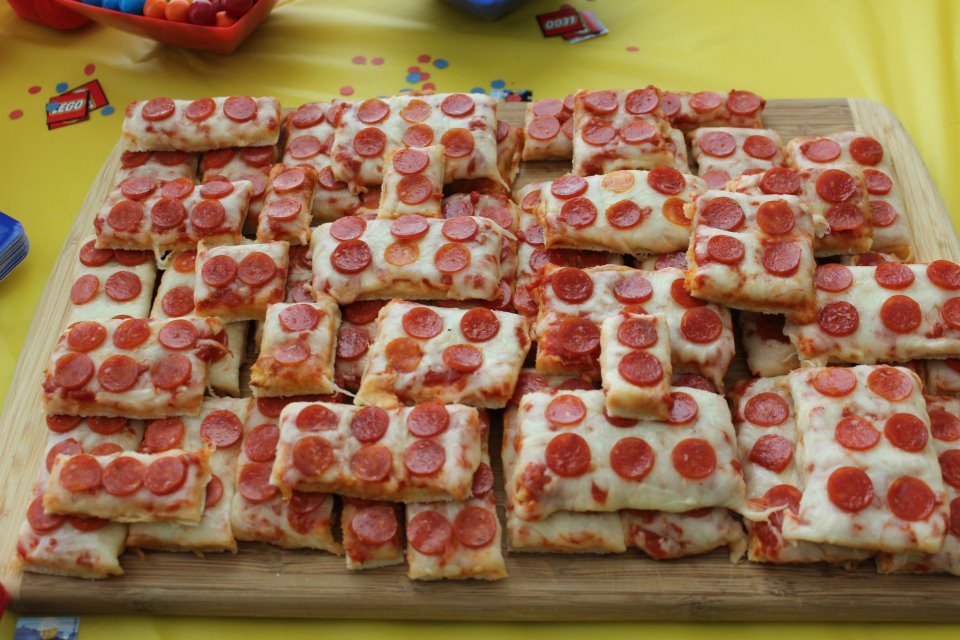
Mini pepperoni pizza legos.

Candies made with these Lego candy molds.

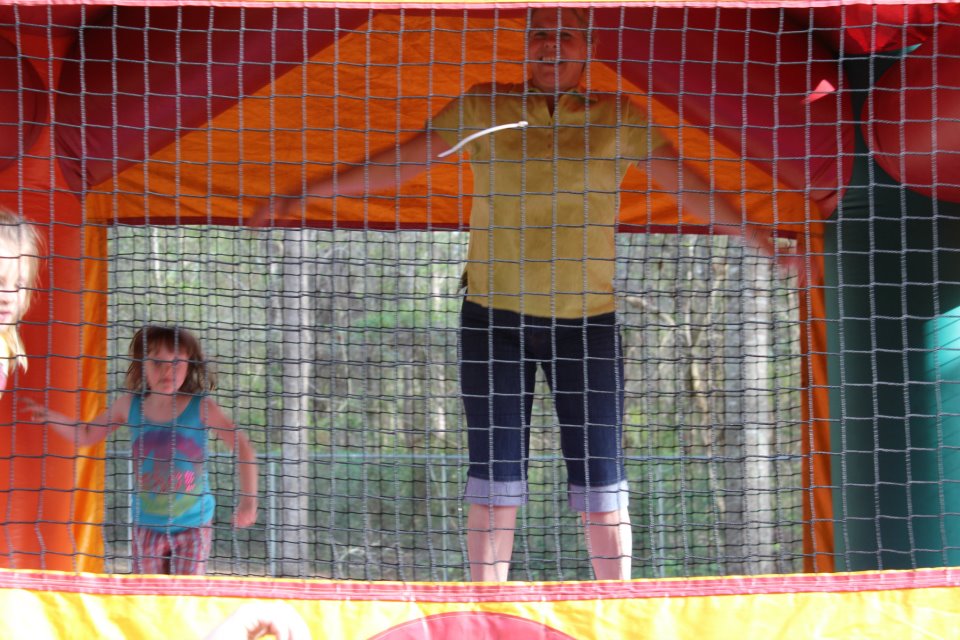
There was even a bouncy house in the backyard.

Ok, so that’s not part of the Lego theme…but the kids had fun! I bet they slept well that night! Even some adults got in on the action!

I would have jumped if it didn’t mean I’d bounce the baby out. That would be a total party killer.

At gift time, Aiden had a crowd surrounding him as he opened all his Lego gifts.

The cake was shaped and covered in fondant to look like a Lego…

…and the cupcakes had little Lego candies on top.

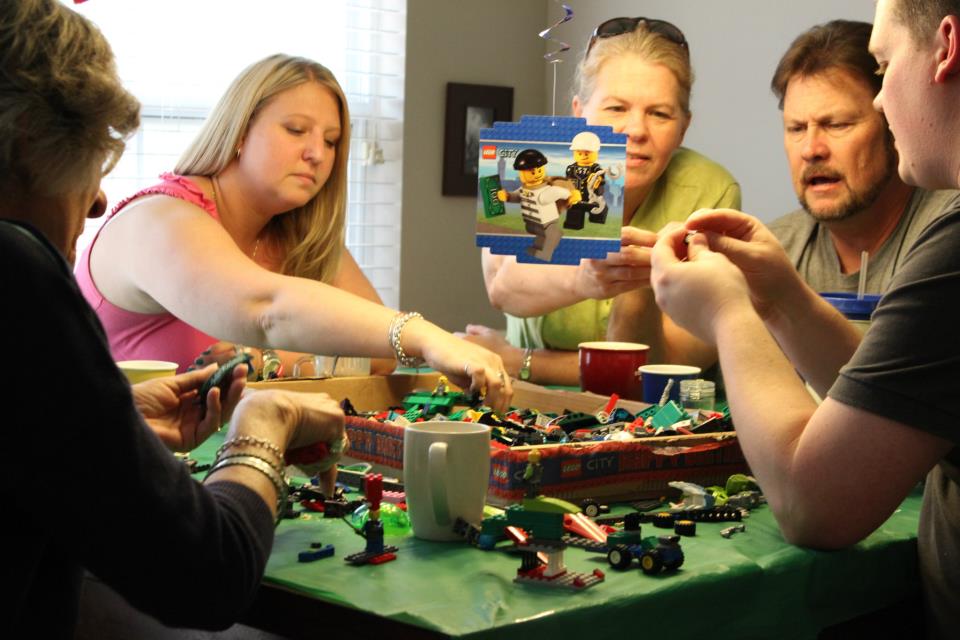
There was also a box of Legos on the table for the kids to build with, but the adults seemed to have more fun with this and we hogged the table. Coffee and Lego-building…sounds like a new hobby to me!

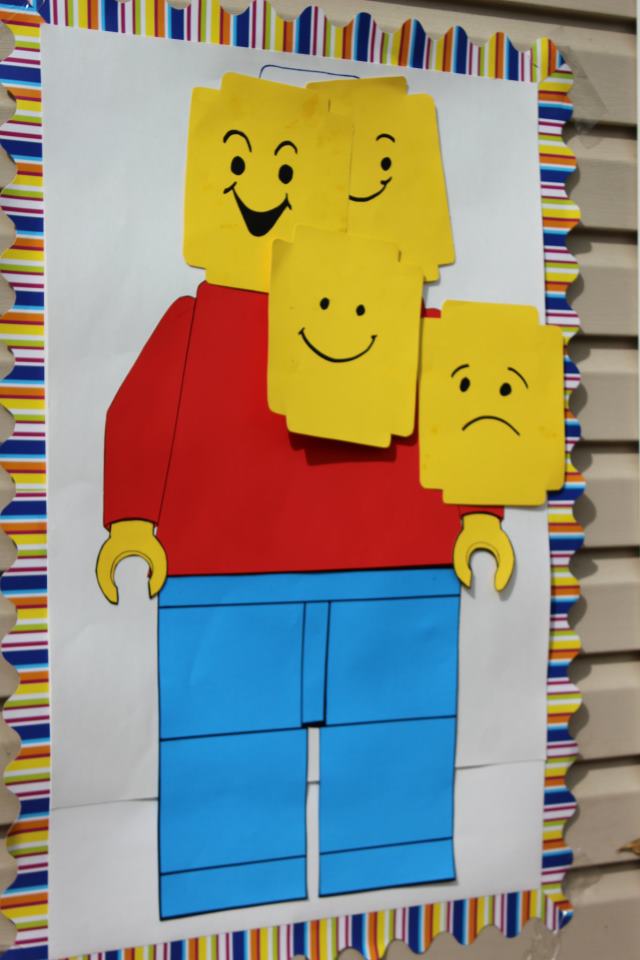
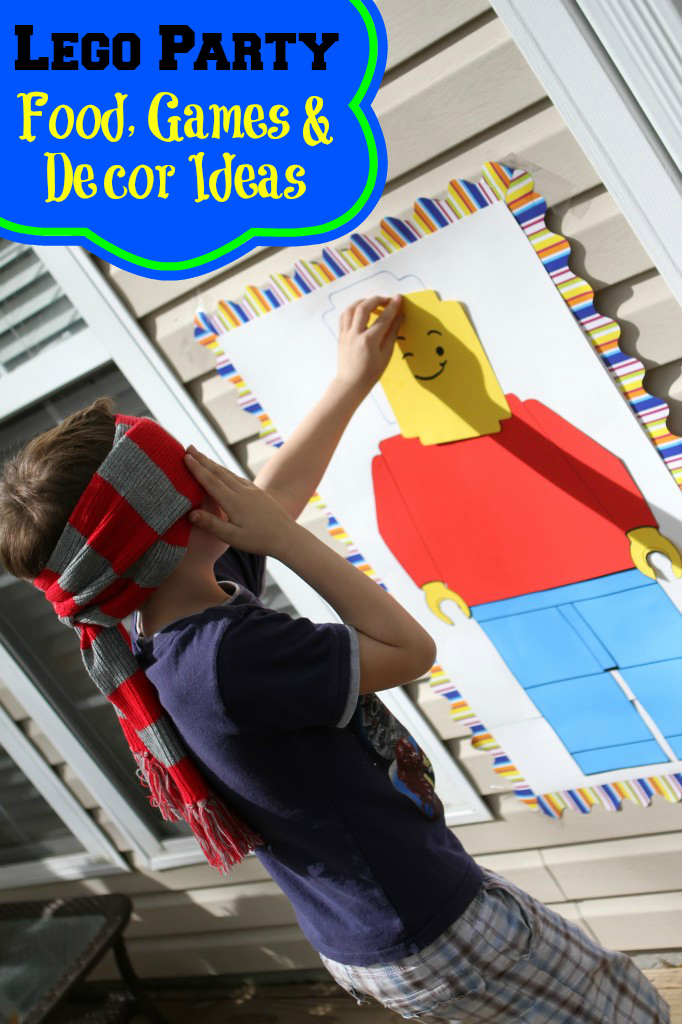
Jennifer made a “Pin the head on the Lego Man” game. She drew a large Lego man on posterboard and then drew and cut out Lego heads with different facial expressions. She has made several of these games for past parties and we told her she needs to open up a shop on Etsy….so creative!

All of his friends received Lego goodie bags to take home!

Such a fun day. Happy Birthday Aiden!

Lego Party

The Photographer’s Wife fans, be sure to:

Subscribe to our posts

Like us on Facebook

Follow us on Twitter


DIY Word Bubble Chalkboard

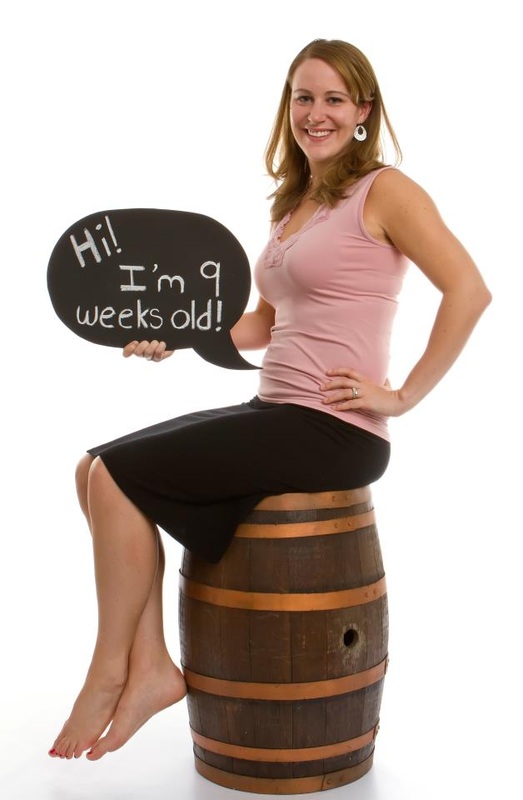
When we first found out that I was pregnant, one of the first things we went crazy trying to decide on was how to do our maternity progress photos. There are some really good ideas out there, and some really bad ones too (to each his own I suppose…) and we spent HOURS browsing Pinterest and the internet in general. Of course, we had a standard we had to live up to with Brett being a photographer, but it was difficult to think of something that we hadn’t already seen somewhere else. To be honest, when we took the first photo at 9 weeks, we still hadn’t completely made up our minds yet, but the clock was ticking and we wanted to share the news with a photo.

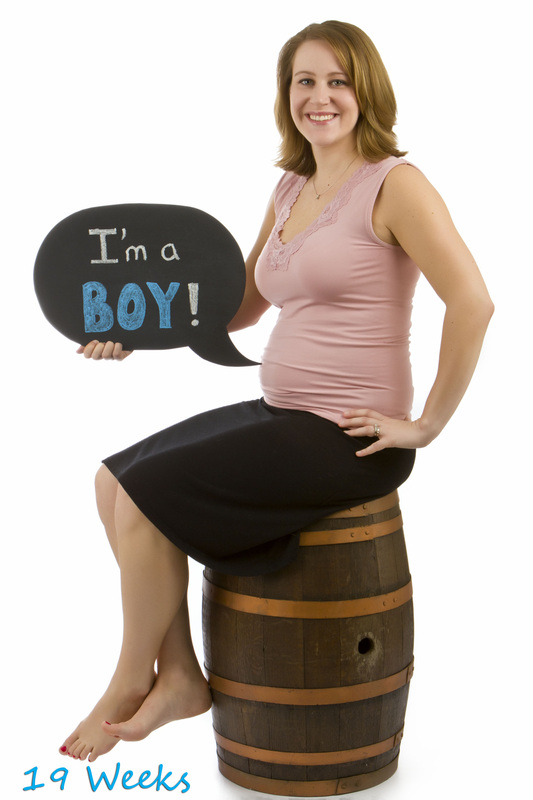
We really liked all the photos that utilized a chalkboard in some way, so we decided to do that, but with a little spin. Brett came up with the idea to make a word bubble chalkboard. It would be like the baby was talking to everyone and giving his own updates. After all, the spotlight is on him now!

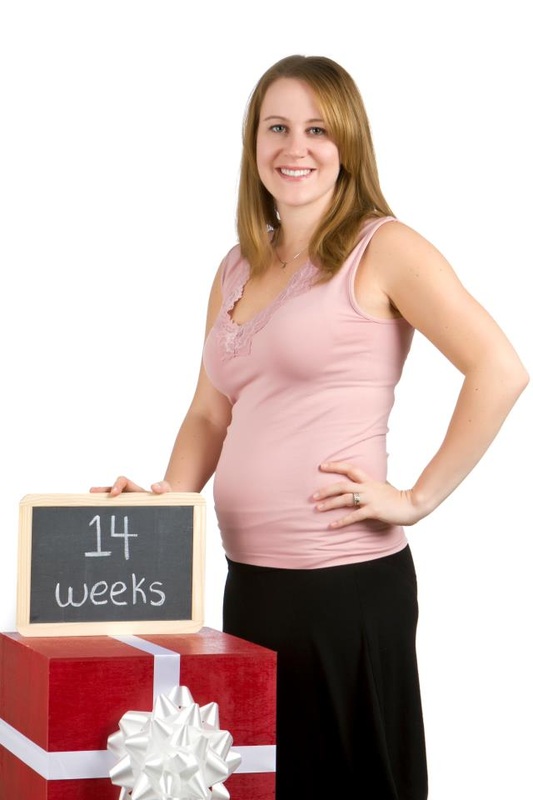
Unfortunately, during Christmas my brain was consumed with holiday to-do lists and the creative juices just weren’t flowing and I was unable to think of anything for him to say. Looking back, a simple “Merry Christmas” would have been nice, but instead we used a regular chalkboard to provide the number of weeks along I was. The gift provided a nice indication of the time of year.

At 19 weeks, we knew the sex of baby Svenson and wanted to go back to using the word bubble chalkboard for him to make his announcement (we hope he doesn’t change his mind on us!). I really like how this one turned out, with the number of weeks inserted at the bottom.

The word bubble chalkboard turns a progress photo into an announcement. Not only can we look back to see what I looked like at certain weeks, but we can see when certain milestones occurred too. And it was really easy and cheap to make!

Items needed:

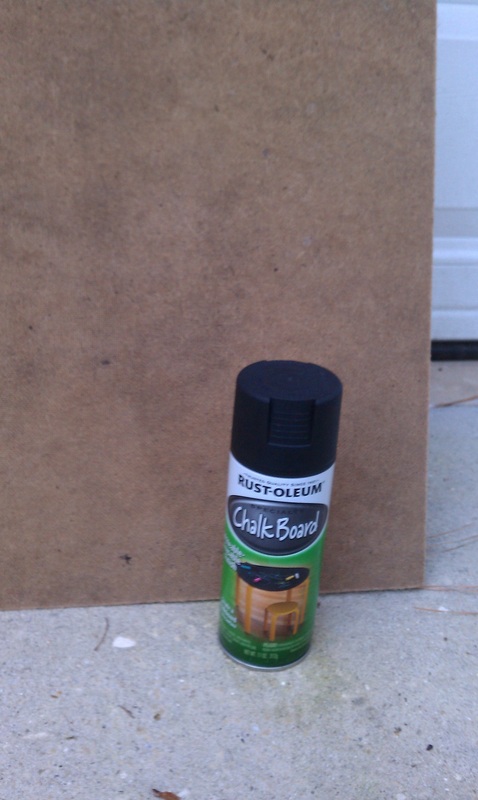
Piece of thin, smooth wood
Chalkboard spray paint

Lay the wood on a flat surface. Make sure the piece of wood you get is thin enough so that it is light and easy to hold, but thick enough so it is not flimsy and maintains its shape.

With a pencil, draw the shape of the word bubble onto the wood. Brett used an oval serving dish that was the perfect size for the main part and then drew in the rest.

Use a jig saw to cut the wood along the lines you just drew. Sand the edges if necessary. Scuff the surface of the wood with sand paper so the spray paint will stick better.

Spray the chalkboard spray paint onto the wood, making sure there is no debris on top and giving an even coat. Let dry. Spray additional coats as necessary. Brett sprayed 6 even coats with 5 minutes of drying time in between.

You’re now ready to make your announcement! Or use it to take silly photos!


The Photographer’s Wife fans, be sure to:

Subscribe to our posts

Like us on Facebook

Follow us on Twitter